Digital Inking Tips & How-To’s
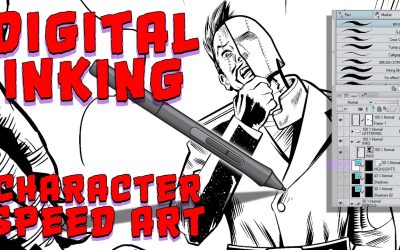
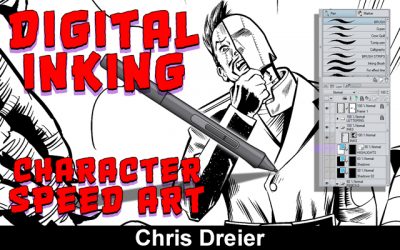
Digital Inking Comics | Character Figure Speed Art | Clip Studio Paint by Chris Dreier
https://www.youtube.com/watch?v=kSL2Ib1zROQ&t=3sSpeed art of my inking process for the character from my ongoing comic book series Freaks & Gods. I use Clip Studio Paint (at the time of this recording I was on version 1.10.5). Wacom Intuos 4 (I know, got to...
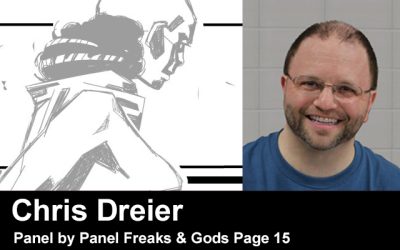
Creating Comics Panel by Panel Freaks & Gods Page 15
Welcome back to Panel by Panel. It’s like my diary of creating my comic. Here you’ll see the progress of my comic Tales of the Dark Tunnel (which is world-building for my series Freaks & Gods). Also, you may see some tips, shortcuts, ideas for story flow, how-tos, problem-solving, or maybe you’re just here to see some cool art.
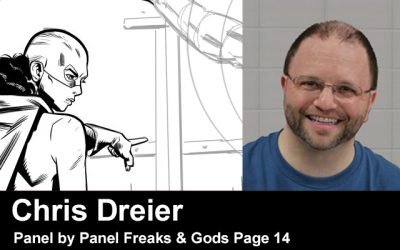
Creating Comics Panel by Panel Freaks & Gods Page 14
I just love how the barbarian on the left looks with his arm up and out. It makes me chuckle. Anyway, here we are page 14. The background pencils had a nice thick forest but at this time of the story they are at a giant high-tech citadel. So I just dropped in a background that mimics the look of a “future” city. Also, for some reason Magno is there on the right in the foreground when it should be Atoman. I just changed him to Atoman while inking.
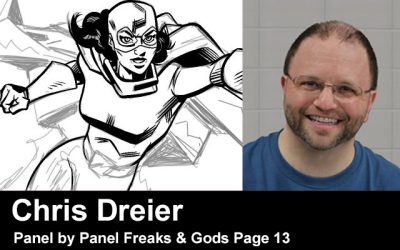
Creating Comics Panel by Panel Freaks & Gods Page 13
Welcome back to Panel by Panel. Here you’ll see the progress of my comic Tales of the Dark Tunnel (which is world-building for my series Freaks & Gods). Also, you may see some tips, shortcuts, ideas for story flow, how-tos, problem-solving, or maybe you’re just here to see some cool art.
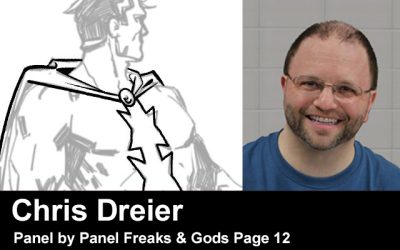
Creating Comics Panel by Panel Freaks & Gods Page 12
Creating Comics Panel by Panel Freaks & Gods Page 12 by Chris DreierWelcome back to Panel by Panel. I appreciate you checking out my posts as we follow the creation of my exclusive comic for the Freaks & Gods universe. I’m the writer, inker, and colorist for...
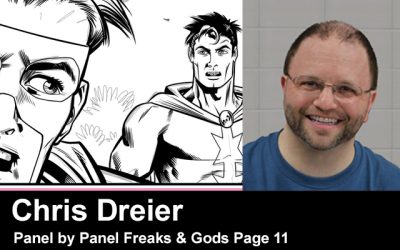
Creating Comics Panel by Panel Freaks & Gods Page 11
The bottom panel was important to selling the location of this story. Everything on this page was great except that. So I had to move things around. Here you can see the two versions.
First, the original pencils, then edited. I kept the two close-up panels on the right aside in case I need one of them later. I ended up using one on a later page, so wait for that in an upcoming post.
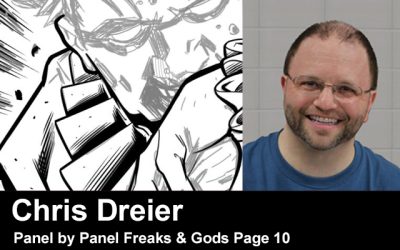
Creating Comics Panel by Panel Freaks & Gods Page 10
Clown Strike! I like the use of silhouettes in this panel. The fact the Clown is stretched out with a full punch really sells the actions. I think on these types of panels the contour lines or outlines should be kept thin. Of course, line variation is always important—thicker lines for shadows and thinner lines for highlights.
Now that I think about it, I should create a post that explains that concept….hmmm? Stay tuned.
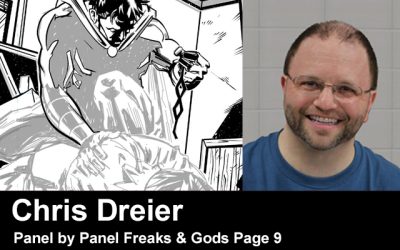
Creating Comics Panel by Panel Freaks & Gods Page 9
PART 01
Tumbling down stairs. I decided to ink the background on this panel first on its own layer.
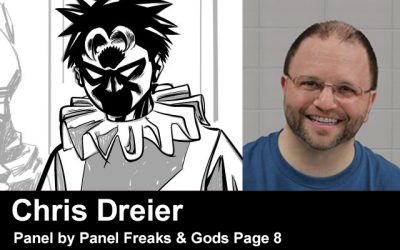
Creating Comics Panel by Panel Freaks & Gods Page 8
Over all this is a pretty straight forward page. With the exception of the Clown…the balding guy on the left. But I’ll get to him in a moment.
The identity of his new sidekick is a secret that is why his face is in shadow. The second panel I have all of the contour lines finished and the outline for black areas. I mentioned in the past I found doing contours first and then the feathering and smaller details last helps to get the page done a bit faster

